はじめに
- 基礎編
- style編(ココ)
こんにちは、アドベントカレンダー3日目担当の避雷です。今回は先日に引き続きUIElementの調査を進めていきます。
今回はUIに必須なstyleの設定です。前回までの知識だとUIは縦に一つずつ並べるしかなかったのですが、それだと実際のUIを作るには表現力不足です。例えばYes/Noボタンなんかは横並びにしたいときと縦並びにしたいときがあったりしますよね。今回はそういったものに対してstyleを変更して対応していきます。
VisualElement.styleを編集する
VisualElement.styleはmargin、padding、borderline、alignment等のUIのビジュアル的な部分を設定する項目です。VisualElementのstyleを設定する方法はいくつかあります。
//初期化と同時に設定VisualElementlabel=newLabel("Hello World! From C#"){style={fontSize=64,color=newStyleColor(Color.magenta)}};//要素ごとに設定VisualElementlabel2=newLabel("Hello World! From C#");label2.style.fontSize=64;label2.style.color=newStyleColor(Color.magenta);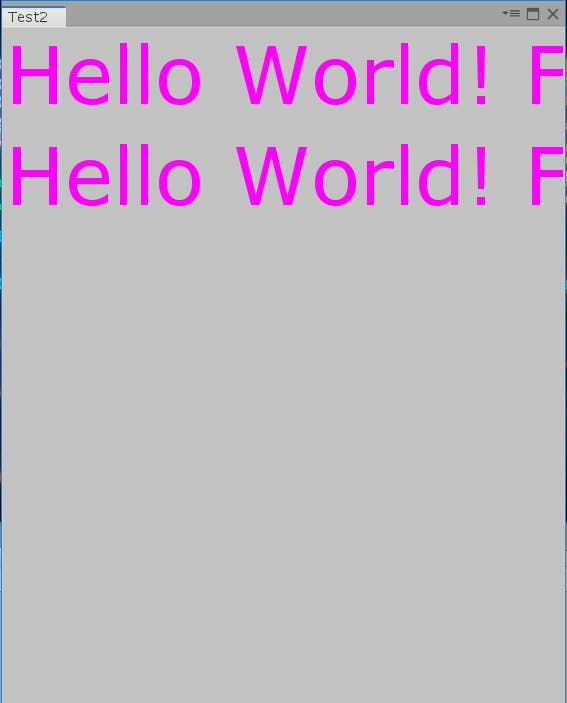
両方同じ描画結果です。
今回は要素ごとに設定することにします。その方が見やすい気がするので。
基本的な設定の紹介
border系
borderColor
ボーダーラインの色を設定します
VisualElementframe=newVisualElement();frame.style.borderColor=newStyleColor(Color.red);borderWidth
ボーダーラインの太さを設定します
VisualElementframe=newVisualElement();frame.style.borderColor=newStyleColor(Color.red);frame.style.borderBottomWidth=5;frame.style.borderTopWidth=5;frame.style.borderRightWidth=5;frame.style.borderLeftWidth=5;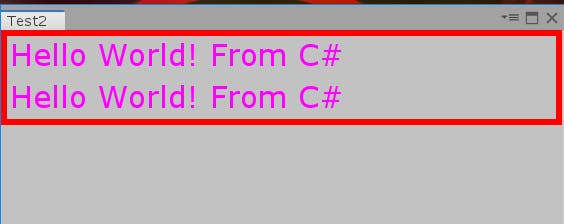
borderRadius
ボーダーラインの角の丸さを設定します
frame.style.borderBottomLeftRadius=15;frame.style.borderBottomRightRadius=15;frame.style.borderTopLeftRadius=15;frame.style.borderTopRightRadius=15;
padding margin系
padding
パディングを設定します(ボーダーラインの内側)
frame.style.paddingTop=10;frame.style.paddingBottom=10;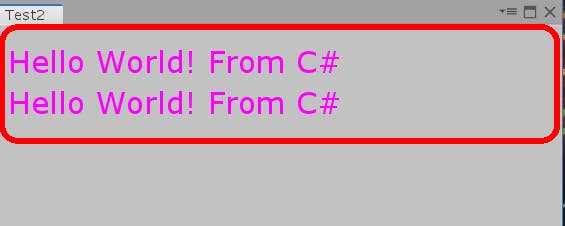
margin
マージンを設定します(ボーダーラインの外側)
frame.style.paddingTop=10;frame.style.paddingBottom=10;frame.style.marginRight=10;frame.style.marginLeft=10;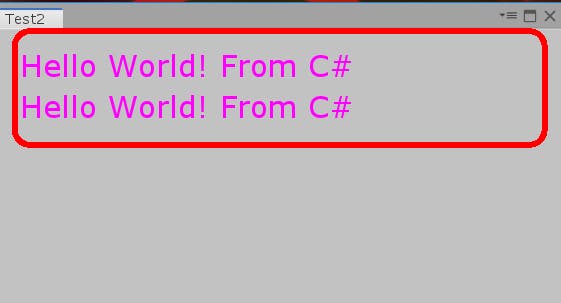
整列方向系
Flex
子要素の整列方向を設定します
frame.style.flexDirection=newStyleEnum<FlexDirection>(FlexDirection.Column);frame.style.flexDirection=newStyleEnum<FlexDirection>(FlexDirection.Row);↓Column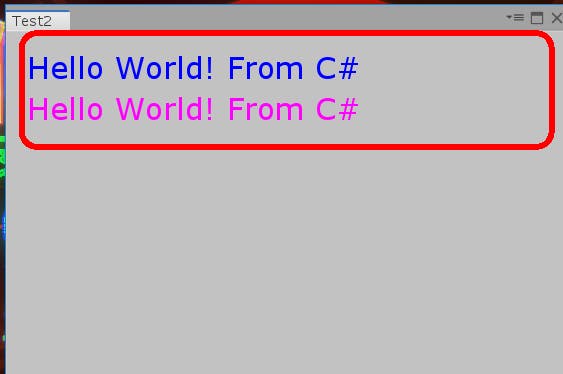
↓Row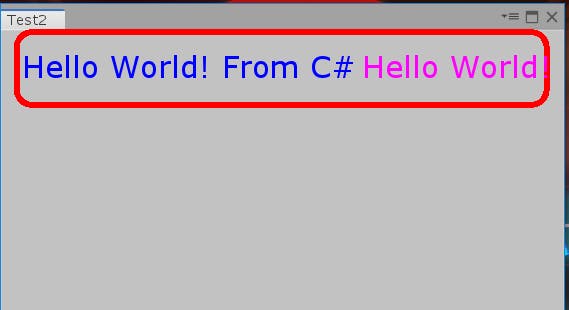
文字系
FontSize
フォントサイズを設定します
Labellabel3=newLabel("ABCDEFG");label3.style.fontSize=32;root.Add(label3);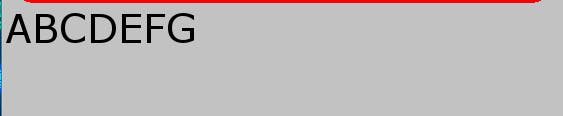
Color
文字色を設定します
label3.style.color=newStyleColor(Color.green);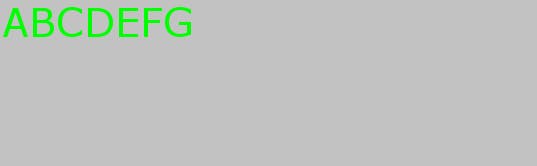
BackgroundColor
背景色を設定
label3.style.backgroundColor=newStyleColor(Color.magenta);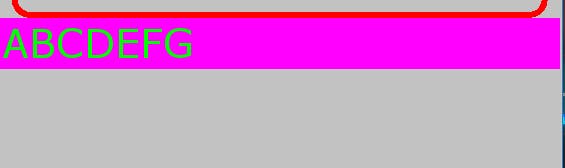
先ほどのVisualElementに同様の設定をすると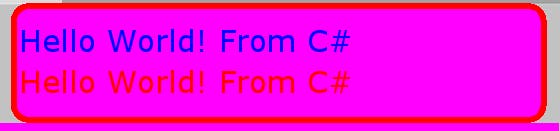
こんな感じです。
UnityTextAlign
テキストの基準位置を設定
label3.style.unityTextAlign=newStyleEnum<TextAnchor>(TextAnchor.LowerRight);
因みにTextFieldの入力を左上からにするには
unityTextAlign無し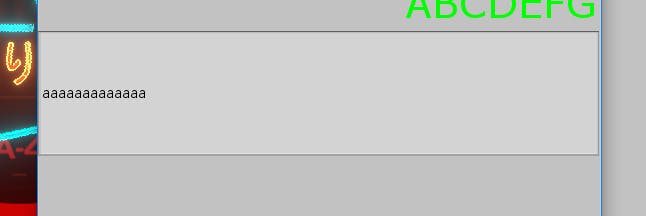
foreach(varchildintextField.Children()){//子オブジェクトに左上整列を指示child.style.unityTextAlign=newStyleEnum<TextAnchor>(TextAnchor.UpperLeft);}とすると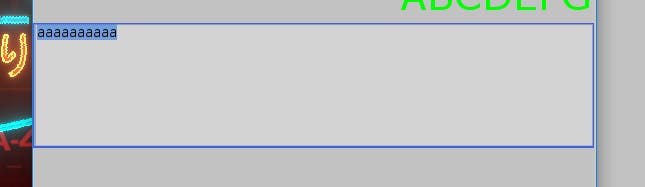
みたいになる。multilineなら設定必須…?なお現状だと日本語入力が出来ないみたいです(IMEが反応しない)
textField.isPasswordField
trueにするとパスワード用のインプットフィールドになります
textField.isPasswordField=true;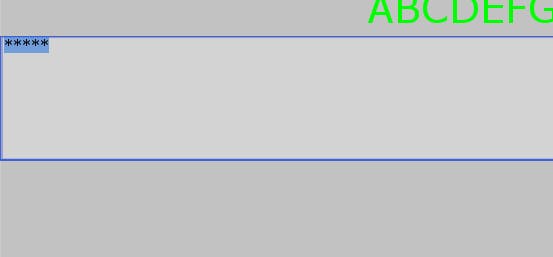
おわりに
なんか諦めてUSSとかUMLとか使った方が楽な気がしてきました…C#でもデザインまで出来るということは証明できたのでヨシとしましょう。